As a Sitecore developer you often find you need to keep Dev and Staging environments up-to-date with Production in order to aid in development and in support and maintenance – otherwise it is very hard to successfully develop and test new features or replicate an issue from Production locally.
This used to mean manually backing up and restoring databases or creating Sitecore Packages to pull content down. This process is a labour intensive and error prone as well as a pretty daunting task :-(.
Sitecore Content Migrator to the rescue
 Thankfully Jeff Darchuk created Sitecore Content Migrator back in October to do just this for you.
Sitecore Content Migrator is a free tool for Sitecore Sidekick which allows you to quickly and easily sync content down from one environment to another. It’s pretty simple to install and setup and then can be used whenever you want to carry out a sync.
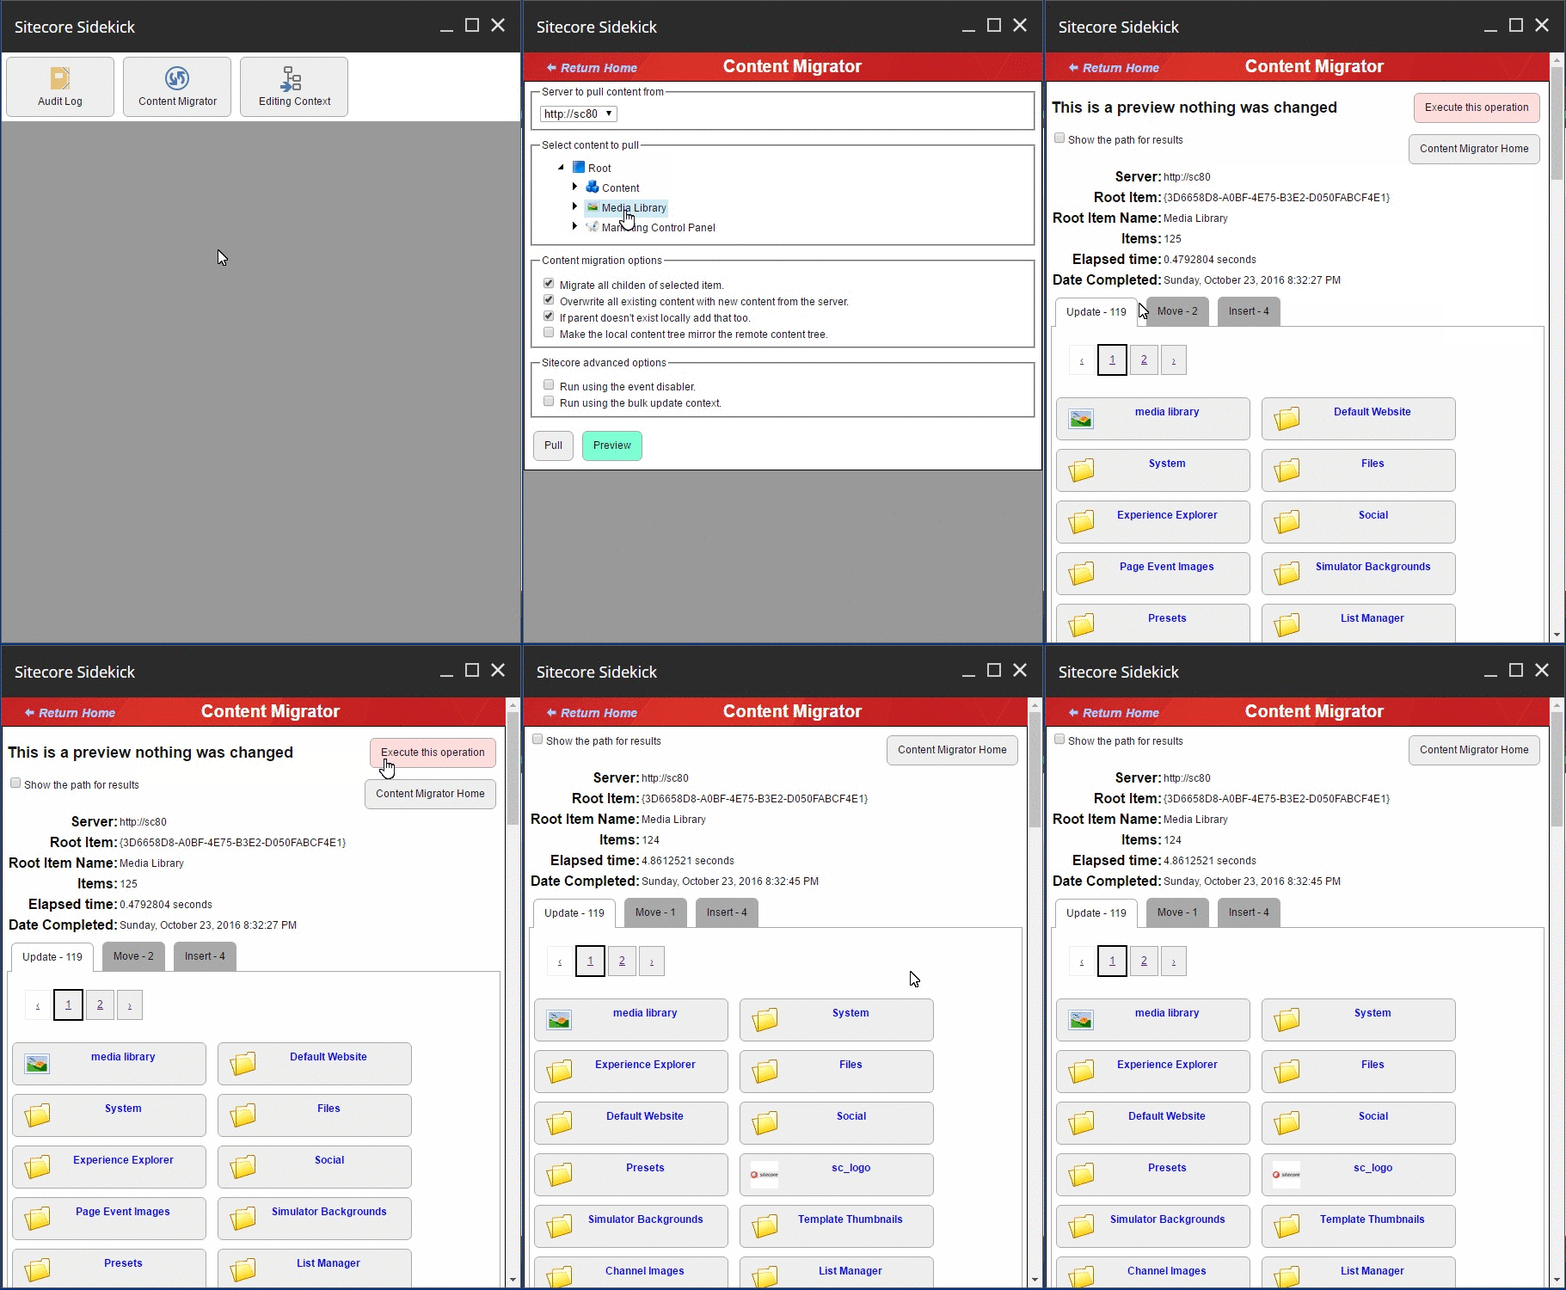
It uses the same underlying technology as Unicorn (Rainbow), is pretty rapid and gives you some nice updates on progress along with a preview feature – so you can check all the changes before you run the import for real.
Installing & Configuring Sitecore Content Migrator
- First you need to install Sidekick itself. You can do this with the Sidekick Sitecore Module using the Sitecore package installer (https://marketplace.sitecore.net/en/Modules/S/Sitecore_Sidekick.aspx) or instead use NuGet to install it like so from Vistual Studios Package Manager Console:
Install-Package SitecoreSidekickCore -Version 1.0.0.
Ensure you install this on all environments you wish to pull content from as well as the environments where you will use it. This is because the service used by the Content Migrator must also exist remotely.
- Once you have installed the module you should find it has also installed 4 new config patch files (zSCS.config, zSCS.Aduitlog.config, zSCS.ContentMigrator.config, zSCS.Editingcontext.config). The one you want to edit is zSCSContentMigrator.config.
Alter the servers list to include the environments you want to pull content from, in our case Production and Staging:<servers hint=”raw:BuildServerList”>
<server>https://production.yoursite.com</server>
<server>https://staging.yoursite.com</server>
</servers>
Time to Sync
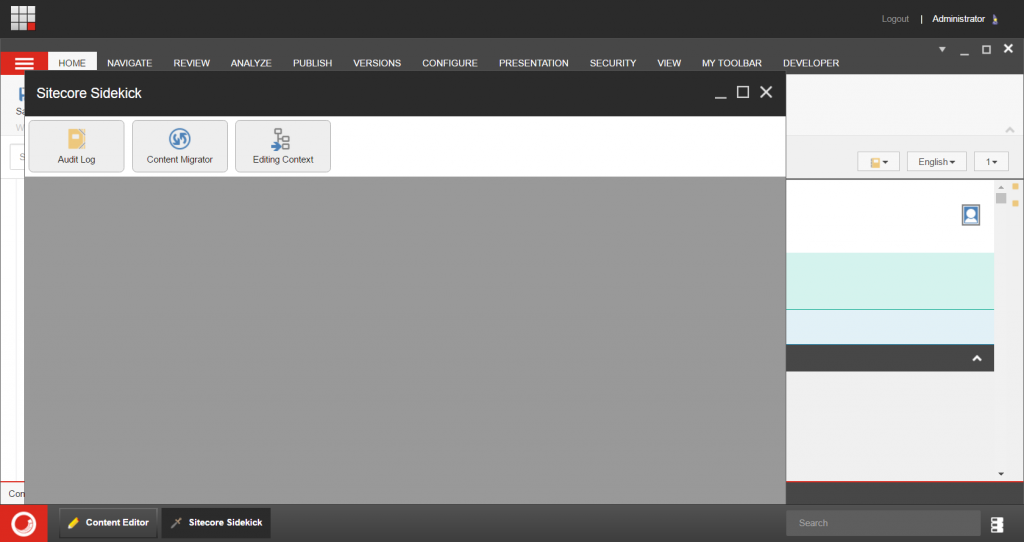
- Go to an environment where you want to sync content to. Click on the Start button and open Sitecore Sidekick. Then click on ‘Content Migrator’:

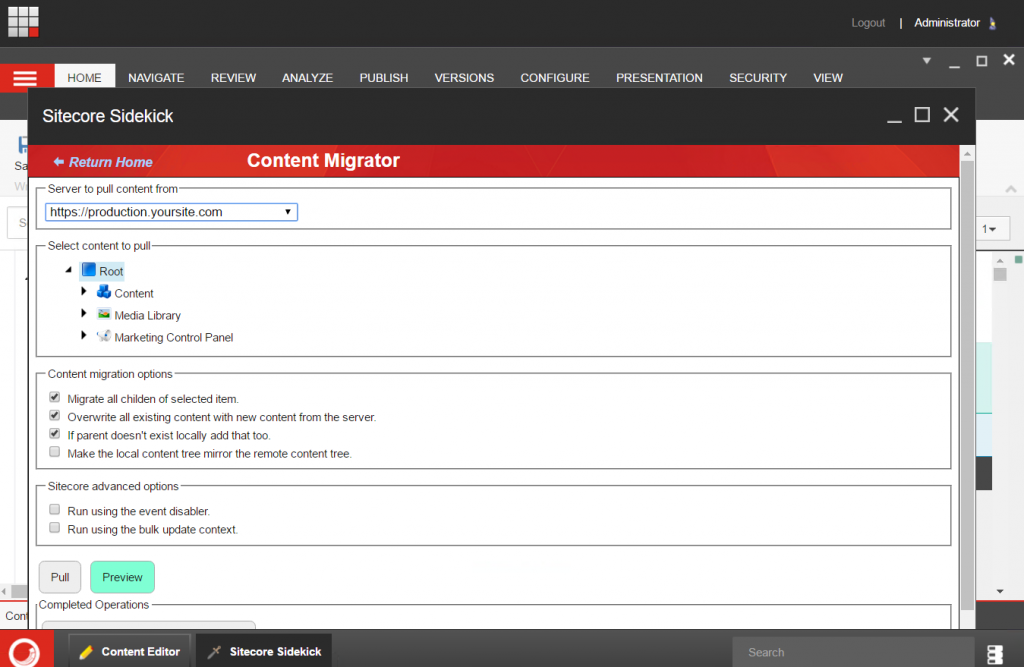
- Select the server to pull content from (e.g ‘production.yoursite.com’), then browse the content node and select the content you wish to sync.
- Then check any of the following options to sync all content down and update the local site:
– ‘Migrate all children of selected item’
– ‘Overwrite all existing content with new content from the server’
– ‘If parent doesn’t exist locally add that too’
– ‘Make local content tree mirror the remote content tree’ – Note: Jeff confirmed to me on Slack that this maintains the existing Sitecore IDs. So this is great if you use Unicorn and don’t want to mess up Dev content IDs.
– ‘Run using the event disabler’
– ‘Run using the bulk update context’
Further information on these options and what they do can be found here: Sitecore Content Migrator

- Click the ‘Preview’ button
- Check that everything looks ok
- Click the ‘execute this operation’ button.
- Monitor the import and check that it completes successfully – look under the ‘Currently Running Operations’ section.
- Publish the site
- Test the site works as expected in your environment
- Rejoice as not having had to do much
Suggested Improvements
- It would be really good to support automated scheduled syncs either by setting this up in config or saving an migration config. – I’ve already suggested this to Jeff and he’s logged it as a feature request.
- It would also be cool to be able to sync multiple root nodes, e.g content and media library items at once.
All in all this is a great tool for making content syncs a whole lot simpler and allowing you to concentrate on development instead of manually keeping your environments in sync.